This blog post accompanies the following video:
Transcription:
This video covers testing the content and functionality of your newly built website, as well as how to really improve the styling of the site . At this point, you should have a site setup with a theme and plugins, and should probably have taken an hour or two to set up your site’s content. If not, take a look at the earlier videos in our series for help with getting the theme or plugins set up, or take a quick break to add content to your site before starting this video.
Testing is the last step in setting up a new website. It’s one that can sometimes get neglected if everything looks like it’s been set up correctly, but it’s definitely something that’s important to spend a bit of time on. The first step is making sure everything looks right. You want to do this on two devices; start with your computer, before moving to a phone. Go through each page from top to bottom, and look for missing content, any content alignment issues, missing images, text that should be links or styling that you want to change. Make sure you check that your links are working by opening each in a new tab, by holding CTRL on a PC or CMD on a Mac while clicking the link. If you notice an issue, correct it right away if it’s something small, or start a list of bigger issues that need fixing. After you’ve gone through the whole site on your computer, take out your phone and make sure all of the content looks right on your phone as well.
Once we’ve gone through the content, it’s time to test the different parts of the site to make sure that they actually work. We’ll start with the contact form we added. Go to your contact page, fill in all of the fields, and then submit the form. You should receive an email within a few minutes if everything is working correctly. Double check that the information in the email matches the information that you entered. If any part of that process isn’t working correctly, add a description of the issue to our list of bigger issues to tackle later.
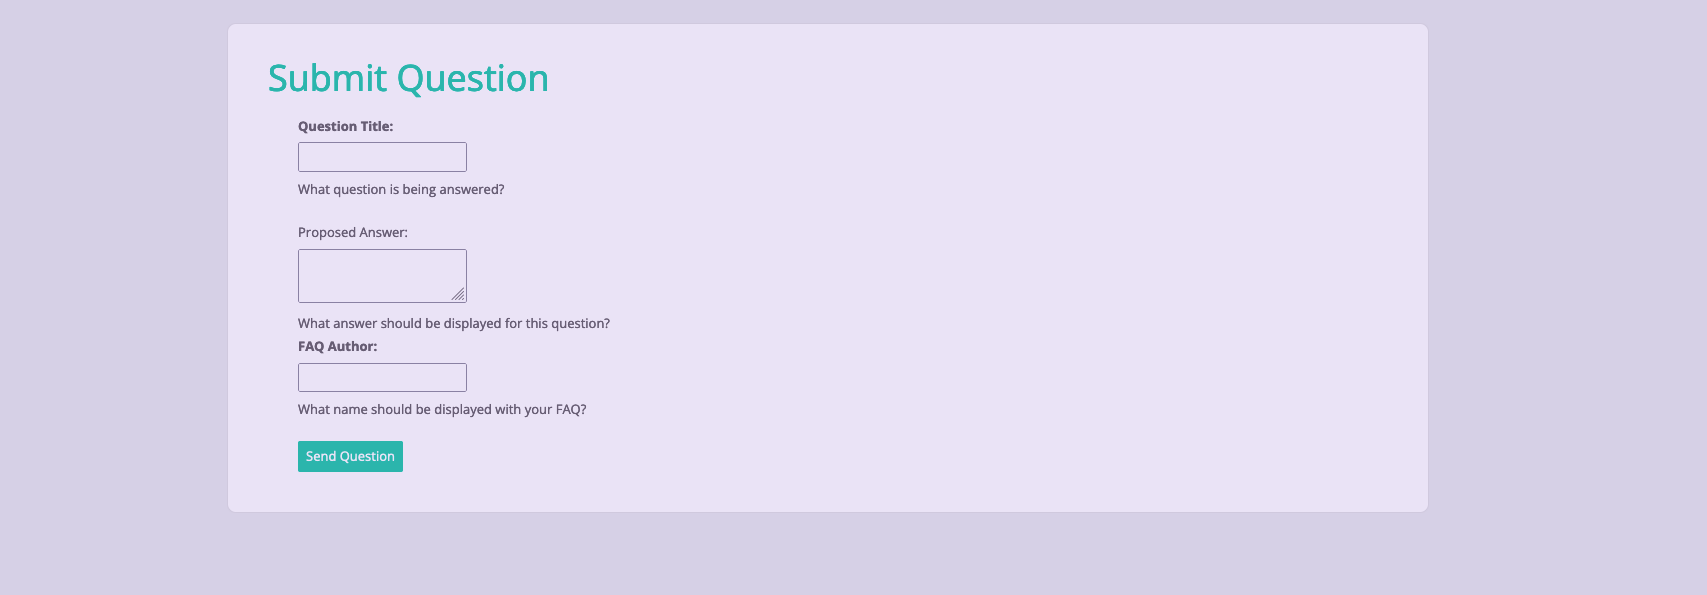
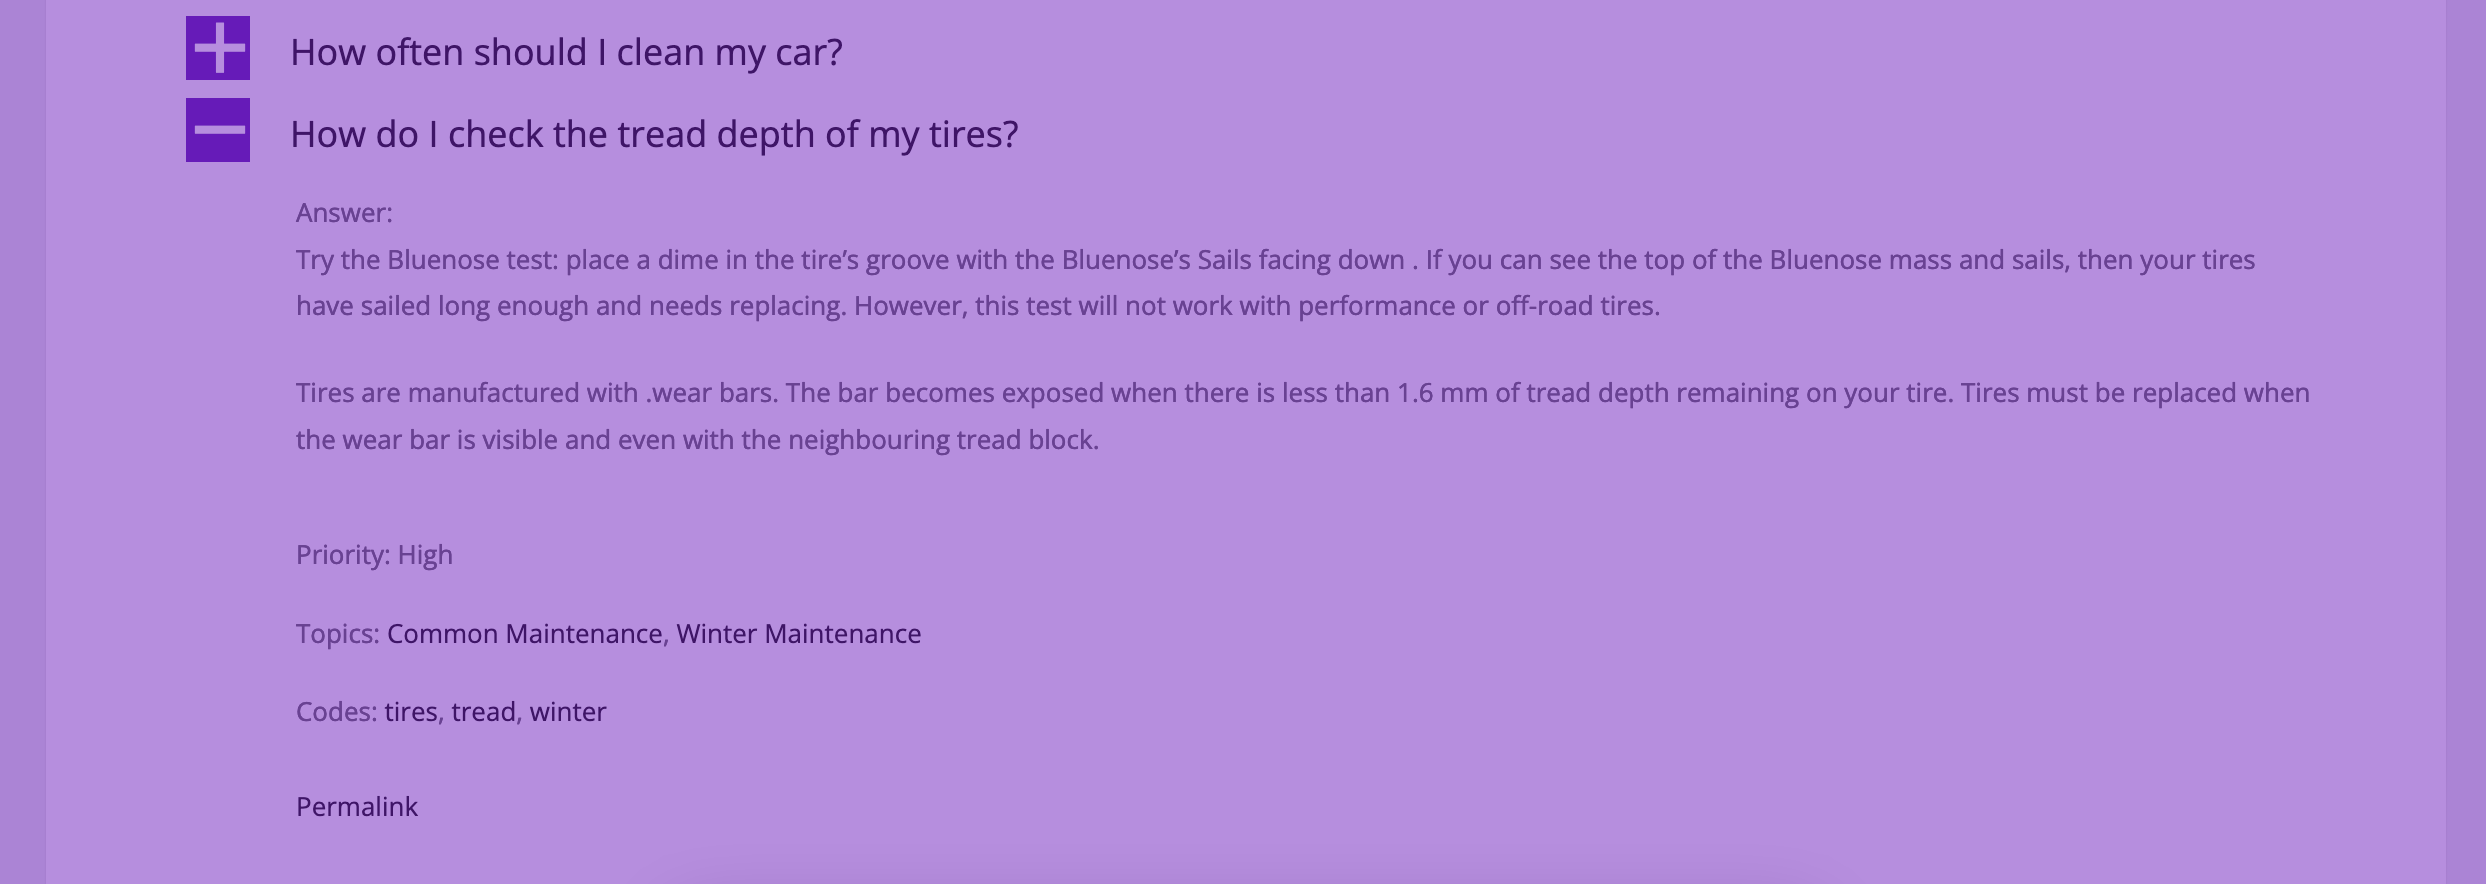
Next, let’s move on to our FAQ section. Make sure that the title and content for each FAQ has loaded correctly, and that the FAQs open and close correctly when you click on them. If any of that isn’t working correctly, it should definitely be added to the list of things that need fixing. If there’s something you don’t like about the FAQ content, for example if you want to hide the FAQ author or disallow comments, you can add that to your change list as well.
Now that we’ve tested our contact form and FAQs, it’s time to move on to testing our shop. Go to the shop page, and browse through to make sure everything looks clean and well aligned, and that all of the products are displayed. Test any filtering that you’ve added to your shop page, and make sure that the products that are displayed match the filtering criteria. Click on a product, and make sure that the product page displays the way that you want it to. Next, add a product to your cart, and head to the checkout page. You can create a coupon code so that the price of the product is really low, but you should definitely make sure that an actual purchase works on your site, because there’s nothing worse than losing out on orders because your checkout process isn’t set up correctly.
Next, let’s test submitting a review via the product page. Fill out the submit review form, and then submit your test review. You should see it appear in the admin area and, depending on your approval settings, displayed on the product page as well. Again, if any part of that process didn’t work, note it on your issues list.
Next up, let’s test our tracking system. If you’ve already got a test item created, great, if not, create one now. Head to the tracking page that’s been set up, and enter the order number for the test item into the tracking form. You should see the order information displayed. If there’s any information you want added to the tracking results, you can use the settings page to add that in now and test again.
That just about does it for the testing portion. How do we go about fixing any of the issues that we noted as we went through the process? First, we’re going to prioritize our problems by dropping them into 3 categories. First, we’ve got our show-stopper issues. Anything that means your site is useless or extremely frustrating to a visitor fits in this category, things like a tracking system that doesn’t display any results. Next, we’ve got major issues. These are things like only 10 FAQs displaying on your site, even though you’ve created a couple dozen, or content not being aligned correctly, leading to a sloppy look for your site. Last, we’ve got the nice to haves. These are little things like having a different message displayed after submitting your contact form than the message that you’d like to have.
After that, work through the problems, starting with the most severe ones and moving on from there. The process I’d recommend for sorting out issues on your website is this: start by checking if you’ve got the settings correct. If the author’s name isn’t displaying on your FAQs, do you have that option enabled? If that’s not the problem, search to see if someone else has had the same problem before, either via a google search or a search of the wordpress.org forums. There are about 30 million websites that use WordPress, so odds are that someone has had the same problem as you, and hopefully they posted the solution to that problem online. The next step after that is looking for help. For issues with a theme or a plugin, you can post directly in that theme or plugin’s wordpress.org support forum. If it doesn’t look like the software developer checks the forums, which you can usually tell if none of the questions have been answered in the last couple of months, then head to their website and see if they have a contact form or an email address where you can ask for help. Make sure you describe your problem in as much detail as possible. For example, “How can I get my FAQs to display grouped by their categories? On my website they currently display in a random order.” is a clear question, whereas “Why are my FAQs not ordered right?” is not. Also be sure to include a link to your site, so that people are able to see what you’re talking about. Your last option is to look for support outside of WordPress. You can try posting on a site like Stack Overflow to see if someone can help you to resolve a problem if a wordpress software developer isn’t responding about issues with their themes or plugins.
Once you’ve got all your problems, or at least your most pressing ones, resolved, congratulations, your site is just about done! You can either launch it quietly, or have a big marketing push to let the world know your site exists.
The last video in our series covers how to keep the content on your site up-to-date, so that people have a reason to keep coming back.


